Hi everyone Eve here with you today , I have a little Tutorial for you on how to make chipboard buttons .
things you will need are
1 sheet of chipboard
scrap papers of your choice
Ink
hole punch
string
circle cutters .....
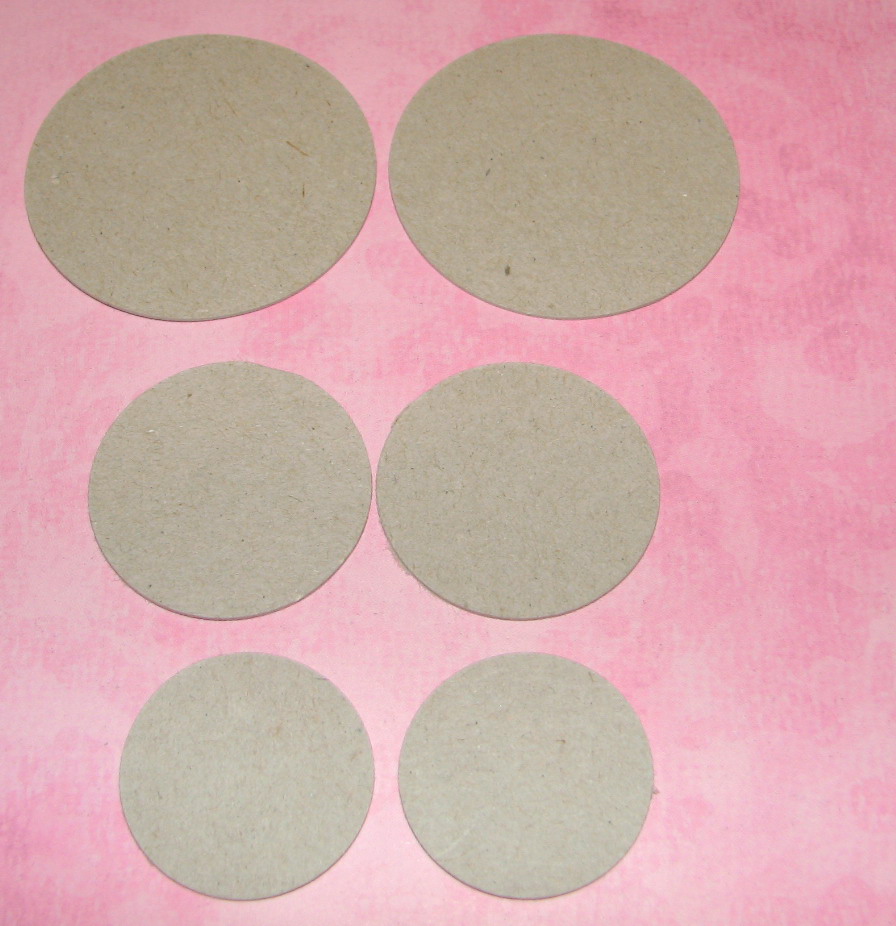
First you will need to cut out some circles in different sizes from the chip board ....
Next you will need to cut out the same size circles from your pattern paper to match your chippboard circles
I have done 6 in 3 different sizes .
Now glue the paper to the chipboard circles and take your Ink ...I used pinecone ...and ink all the edges of your circles .
Now with a hole punch or eyelet setter punch the holes in the centre of the circles , you can have sets of 2 or sets of 4 holes ..I have used a mixture of both .
And !!!VOILA!!! you have made yourself a set of cute little buttons ..
Here is how i used these little buttons on a layout ...Hope you have enjoyed my Tutorial
Hugz Eve


9 comments:
Thanks for sharing Eve
Your LO is so beautiful xx
Gorgeous Eve, and a gorgeous layout. Love Ness xx
Gorgeous !!! Thank you for sharing it with us !! xx
So clever!! Thanks so much for sharing! I love that look!
terrific buttons Eve & your LO of Klaire is beautiful.. TFS .. X:)
fabulous tutorial.I love chipboard buttons as they match perfectly with your layout
Love them!!
Thanks girls ...i appreciate the feedback
Awesome tutorial!
I love this idea and the end project is totally awesome!!!!
Really wonderful!!!!
Post a Comment