I do hope that I may be a source of inspiration or motivation for all your scrappers and that we may enjoy this adventure together and learn from one another. So please do leave your comments or feedbacks! They mean a lot to us! (:
Today, I will be sharing with you a simple technique that I have always wanted to give it a go on my project. Just a little background, I love watercolours. I love to paint and draw. These interests probably spark off when my grandmother signed me up for art classes at the age of 7. What would be better than to marry painting/ watercolours with my love for scrapbooking?
So let’s get started shall we? (:
You will need newspapers or your craft sheet to cover your table, so you don’t get paint on them. You will also need some water, your watercolour palette in the colours you desire, a paint brush and a normal drinking straw.
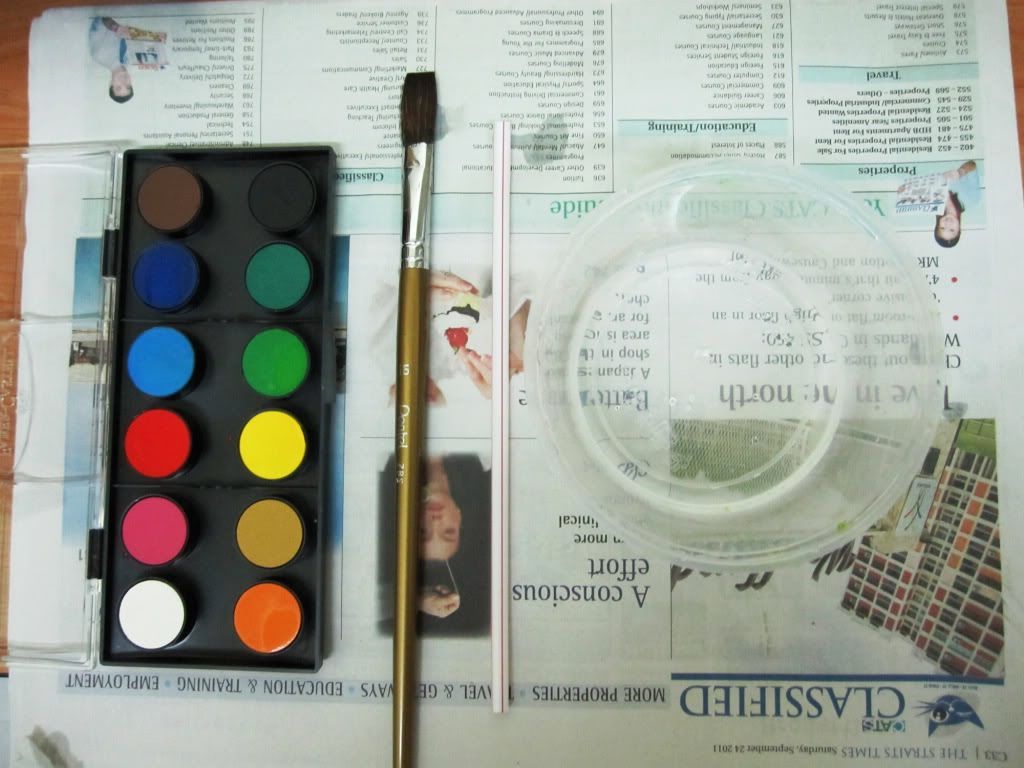
First, wet your paint brush and work on the first colour you would like. Wet your brush until you are able to get that watery colour blob on your cardstock.
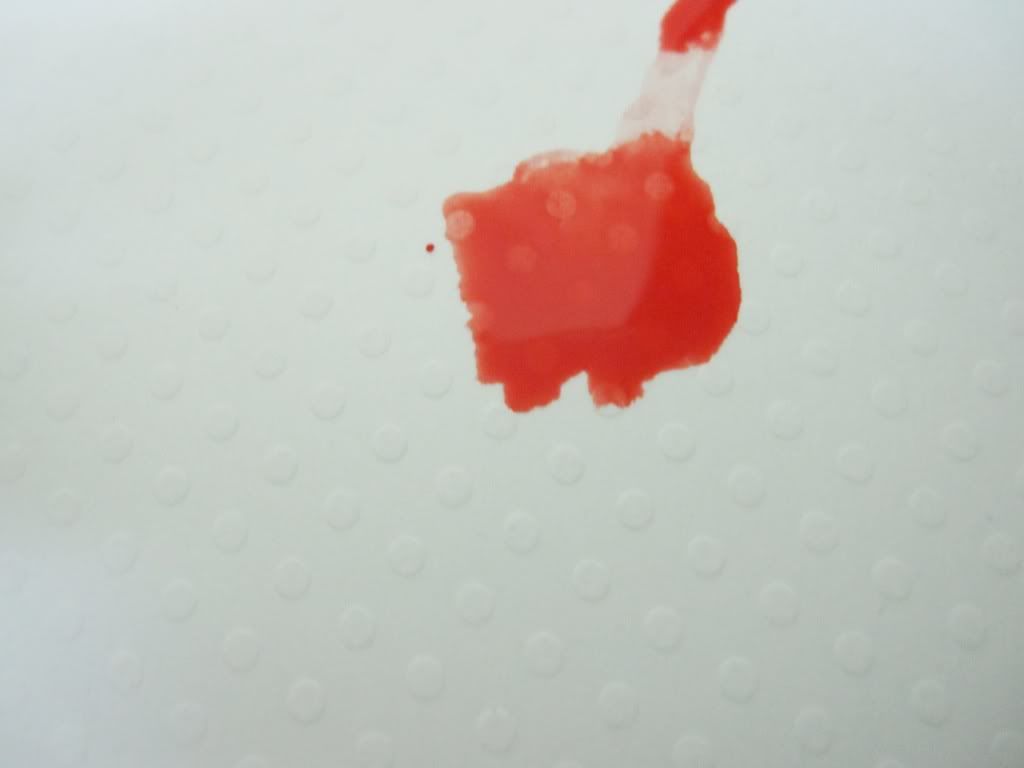
Next, using the straw, blow on the blob until it spreads out like branches. The bigger the blob, the more you get to blow and the longer your “branches”. If you feel that your branches are still not spread out as much as you want it to, you can work your wet brush on the paint colour and gently add a bit more to the original blob or a little on the end of your branch and blow again.
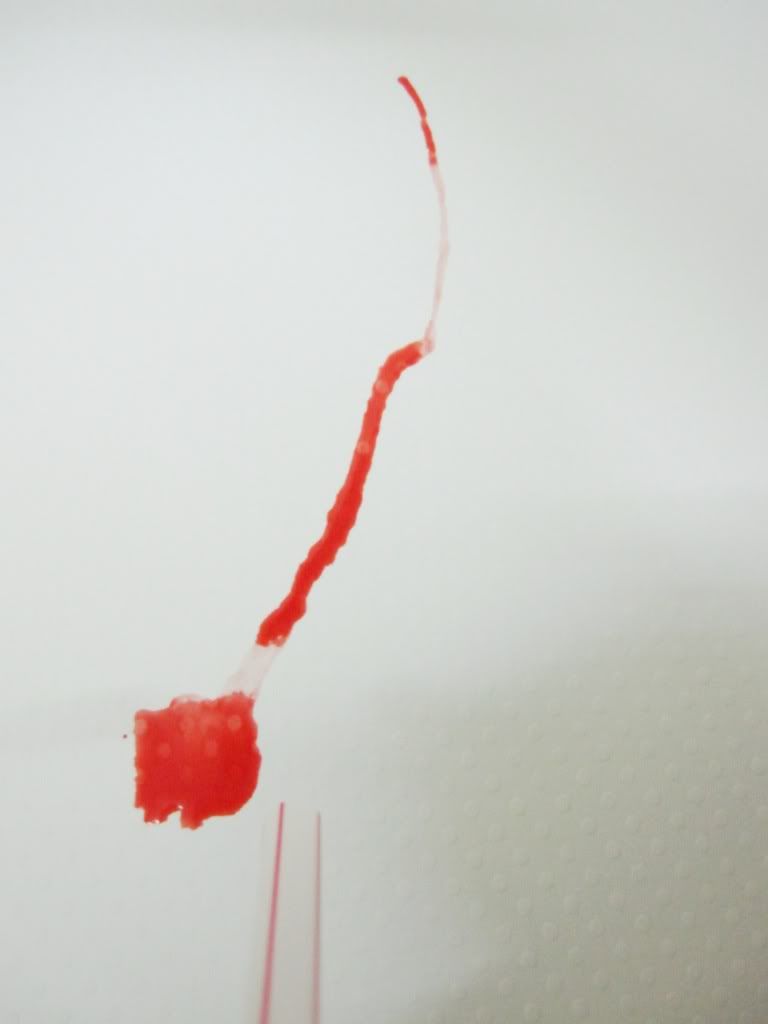
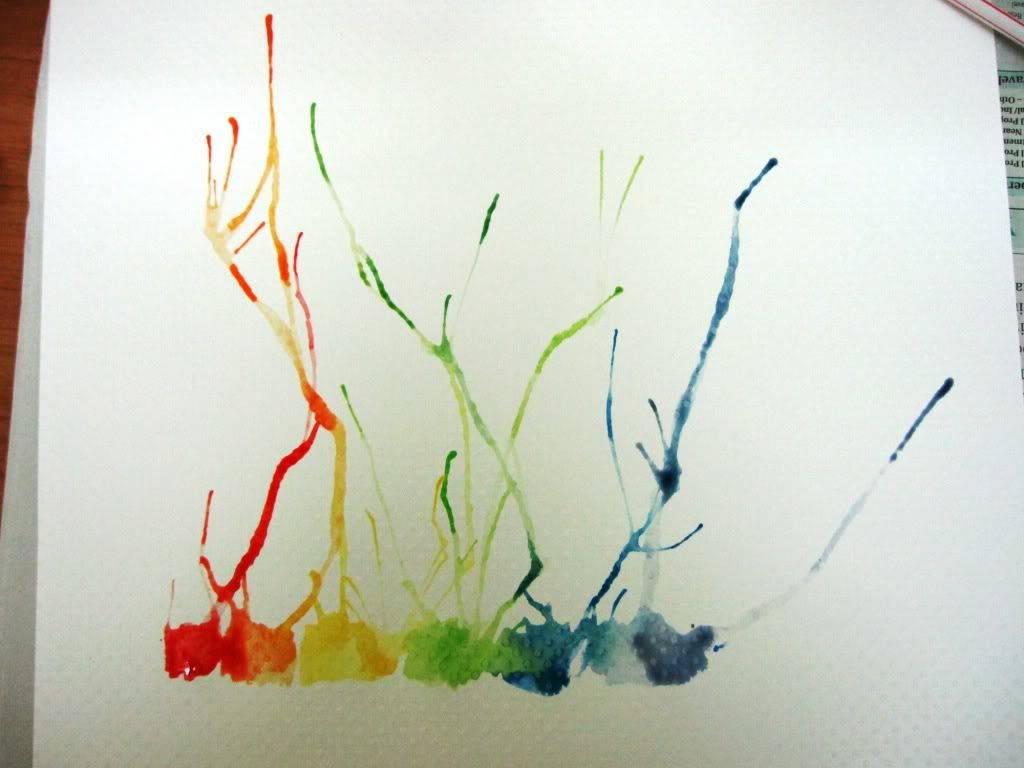
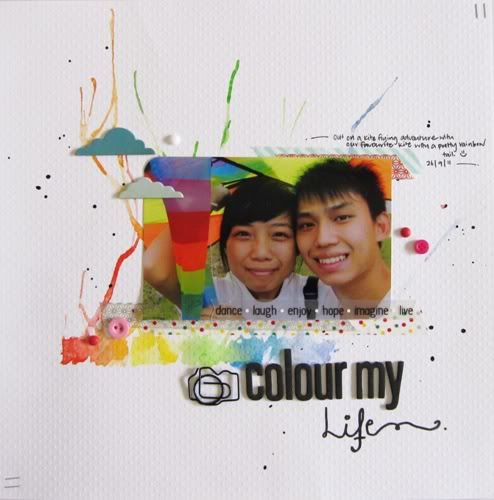
Repeat this process for each of the colour you would like on your project. I did one in rainbow colours. My rainbow watercolour forms the background of my layout.
I splat some black acrylic paint on the layout as well to give it some character. Just to add, I dip a smaller brush with a small tip into some black paint. I positioned my brush vertically on the spot I desire and I tap the peak (topmost part) of the brush to release the paint drops. I did not tap very hard because I wanted smaller paint drops.
I finished the whole layout by adding washi tapes, embellishments, my photo, alphabet thickers and journaling using my trusty black fine pen.
Have fun coming up with your own project using watercolours. And please do share by giving us a link to your project or blog post through the comments. We would love to see it! Thanks for coming by and for your support!
P.S Just something random. I tried to dry my paints using a hair dryer (my heat gun’s not working right now.) and realized it kind of helped me in extending my watercolour “branches”. HAHA! So if you wanted to try, you can use your hair dryer just to experiment. Although I think you will have more control with your “branches” using the straw. (:

8 comments:
Love this!! Thanks for the great idea!! I really want to try this!
thanks Valerie for your kind words (:
This is REALLY cool and really something I would love to do! I'm so into watercolor these days (to color stamping). Awesome! Thanks for sharing this!
excellent ... love it ... have to find my water colors to enable me play LOL ... TFS X:)
That looks fabulous and the title is perfect!!!!
Absolutely adore this page ♥♥♥
Love this tutorial & layout - gorgeous colourful work!!
Totally, totally love this. Even my girls could enjoy this too. (-:
Post a Comment